
Step-by-Step Guide: Convert Logo to Embroidery for Elna
You have an Elna embroidery machine, a symbol of Swiss precision and creative potential. You also have a logo—a team emblem, a business brand, a personal design—that you’re eager to see stitched onto fabric. The bridge between that digital file and your machine’s needle, however, can seem complex. The process to Convert Logo to Embroidery for Elna Embroidery Machine is a clear, learnable series of steps. It’s not about magic, but about methodical translation. Whether you’re a hobbyist or a small business owner, this guide will walk you through each stage, from preparing your artwork to loading the final file, ensuring your logo stitches out with the clean, professional quality your Elna is capable of.
Think of your logo as a blueprint and your Elna as a master builder. The builder can’t work from the blueprint alone; they need a detailed set of construction instructions. Your job is to create those instructions in a language the machine understands: an embroidery file format like .PES, .EXP, or .VIP. This step-by-step guide will be your foreman, showing you how to write those instructions clearly and avoid the common construction errors that lead to disappointing results.
Step 1: Know Your Machine’s Language (File Format)
First, identify what your specific Elna model reads. This is crucial. Most Elna embroidery machines use formats from their sister companies within the Janome Family.
-
Most Common: .PES (Brother/Pfaff format, widely used by Elna)
-
Also Common: .EXP (Melco/Bernina format)
-
Possible: .VIP or .VP3 (for newer/higher-end models)
-
Janome-native: .JEF (some Elna models may use this)
How to Check: Consult your Elna user manual or look at the file extensions of any sample designs that came with your machine. You can also try loading a small .PES file from the internet onto a USB and see if your machine recognizes it.
Step 2: Prepare Your Logo File (The Foundation)
The quality of your final stitch is directly tied to the quality of your source file. Do not skip this step.
-
Find the Vector File (Gold Standard): Contact the logo’s designer or search your files for .AI, .EPS, or .SVG. These are vector files—made of mathematical paths, not pixels. They are infinitely scalable and provide clean lines for digitizing. This is your best possible starting point.
-
If You Only Have a Raster File (JPG/PNG): It must be high-resolution, have a plain background, and feature sharp contrasts. A small, blurry logo from a website will digitize poorly. Use a simple photo editor to crop tightly to the logo and increase contrast if needed.
-
Define Your Specs: Know the exact embroidery size (e.g., 2.5 inches wide) and the fabric type (e.g., polo shirt knit, canvas tote). This informs critical digitizing decisions.
Step 3: Choose Your Conversion Method
You have two main pathways, each with its own steps.
Path A: Using a Professional Digitizing Service (Recommended for Beginners & Critical Logos)
This is the fastest way to get a guaranteed, high-quality result.
The Steps:
-
Select a Service: Choose a reputable online digitizing service (e.g., NextState, Absolute Digitizing).
-
Upload & Specify: Upload your best logo file. In the order form, specify:
-
Output Format: Choose your Elna’s format (e.g., .PES).
-
Stitch Size: Provide the width in inches or centimeters.
-
Garment/Fabric Type: e.g., “Cotton Twill Cap” or “Polyester Jersey.”
-
-
Order & Wait: Complete the order. A professional digitizer will manually create your file, often within 24 hours.
-
Download & Receive: You’ll get an email with a download link for your ready-to-stitch file, and often a picture of the stitch preview.
Why this path works: It offloads the technical complexity to an expert, ensuring proper underlay, stitch density, and pull compensation.
Path B: Using Digitizing Software (For Hands-On Learning)
If you want to create the file yourself, you’ll need software.
Software Options for Elna Users:
-
Hatch Embroidery by Wilcom (Top Pick): User-friendly, powerful auto-digitizing, exports to all Elna formats (.PES, .EXP, .JEF). Offers a 30-day free trial.
-
Embrilliance Essentials: A popular, modular option good for beginners.
-
Janome/Elna Branded Software: Software like Janome Artistic Digitizer is guaranteed compatible but can be expensive and have a steeper curve.
Step 4: The Core Digitizing Steps in Software (Path B)
If you take the software path, follow this sequence within your chosen program.
Step 4.1: Import and Size.
Create a new project, import your logo file, and immediately use the resize tool to set it to your exact desired stitch dimensions.
Step 4.2: Create Stitchable Outlines.
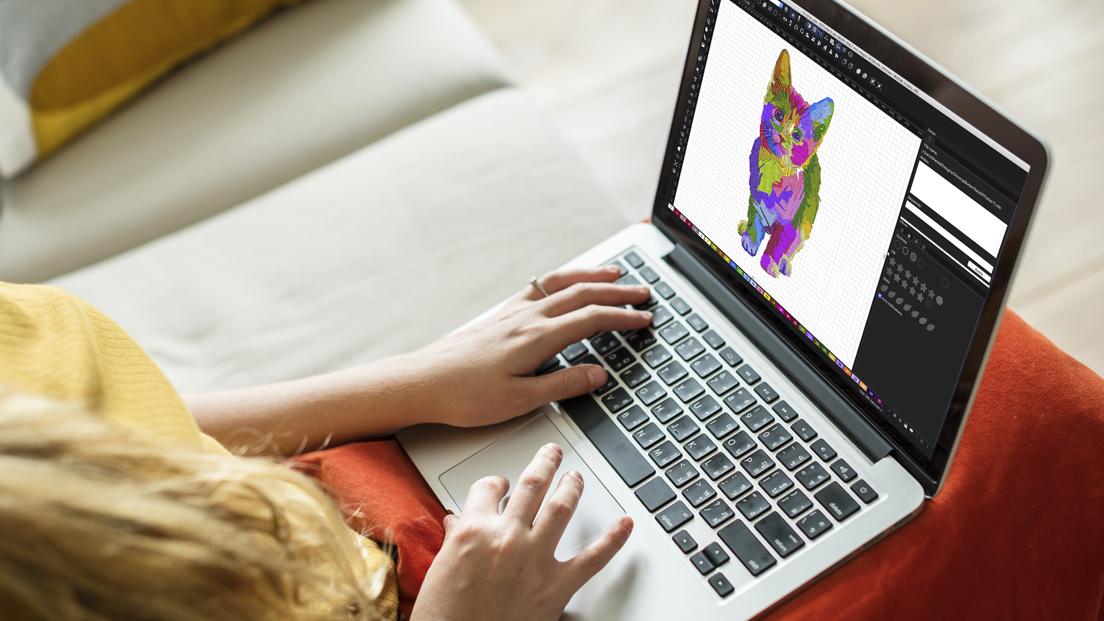
Use the “Auto-Digitize” or “Trace” function. This creates vector shapes over your logo. For a simple logo, this may work well. For more control, you may need to use the drawing tools to clean up lines.
Step 4.3: Assign Stitch Types.
This is where you tell the software how to sew each shape.
-
Select shapes that are lines, borders, or text. Assign these as Satin Stitch (or Column Stitch).
-
Select shapes that are large solid areas. Assign these as Fill Stitch.
Step 4.4: Adjust Critical Settings (The "Quality" Steps).
Default settings often fail. You must adjust:
-
For FILL STITCHES:
-
Density: Change this to 0.45mm or 0.5mm. The default is often around 0.3mm, which is too dense and will create a stiff, puckered patch.
-
Underlay: ADD UNDERLAY. Select the fill shape and apply a Contour or Zigzag underlay. This foundational stitch stabilizes the fabric and is non-negotiable for good results.
-
-
For SATIN STITCHES:
-
Width: Set an appropriate width (e.g., 3.0mm for a medium outline).
-
Pull Compensation: Add 0.1mm-0.15mm. This counteracts the thread’s pull, keeping the satin column from sewing out too skinny.
-
Underlay: Apply a Center Walk underlay.
-
Step 4.5: Sequence Colors and Simulate.
View the color sequence. Ensure light colors stitch before dark colors. Then, run the Stitch Simulator. Watch the animation to spot long, inefficient jumps or registration issues.
Step 4.6: Export for Your Elna.
Go to File > Save As or Export. In the format dropdown, select your Elna’s confirmed format (.PES, .EXP, or .JEF). Save this file directly to your USB drive.
Step 5: Transfer and Stitch on Your Elna
Your digital work is now complete. Time for the physical machine.
-
Transfer File: Safely eject the USB drive from your computer and insert it into your Elna embroidery machine.
-
Hoop Your Fabric Correctly: Hoop your stabilizer (cut-away for stretchy fabrics, tear-away for stable wovens) with your project fabric. The hoop must be drum-tight.
-
Load the File: On your Elna’s screen, navigate to your USB drive and select the newly created embroidery file (e.g.,
MyLogo.PES). -
Thread and Set Up: Thread the needle with the first color from your design. Attach the correct size hoop to the machine.
-
RUN A TEST STITCH: This is your final, essential step. Stitch the design on a scrap piece of your actual project fabric. Watch for:
-
Puckering: Likely means fill density is still too high.
-
Thread Breaks: Could indicate poor digitizing pathing.
-
Poor Detail: Satin stitches may be too wide/narrow.
-
Step 6: Analyze and Iterate
Based on your test stitch, you may need to return to your software (Path B) or request a small tweak from your digitizing service (Path A). This cycle of testing and refining is normal and ensures perfection.
Conclusion: From Digital Concept to Tangible Brand
Learning how to Convert Logo to Embroidery for Elna Embroidery Machine is a empowering skill. It transforms your machine from a tool that uses others’ designs into a gateway for your own custom expression or business branding.
For your first crucial logo, Path A (Professional Service) is the most reliable way to ensure success and see what a high-quality file looks and sews like. It builds confidence. Once comfortable, exploring Path B with Hatch Embroidery’s free trial allows you to learn the craft hands-on with simpler designs.
Remember the core principles: start with the best logo file possible, never ignore underlay and density settings, and always—always—stitch a test first. By following these methodical steps, you remove the guesswork and set the stage for your Elna to perform exactly as intended: turning your precise digital instructions into a perfect, stitched reality. Now, find that logo and begin its journey.